Water Expo 2025 in New Delhi 28-30 August 2025 | Pragati Maidan, New Delhi India 20th Everything About Water Expo 2025 ...
Grease Trap installations instructions
Grease Trap installations instructions
17-05-2024
If you own or operate a restaurant or any other food service business, it is important to keep the kitchen drain free of grease, fats and oils.
FOG can cause foul smell, backups, clogs and even overflow of sewer causing damage to the property and the environment.
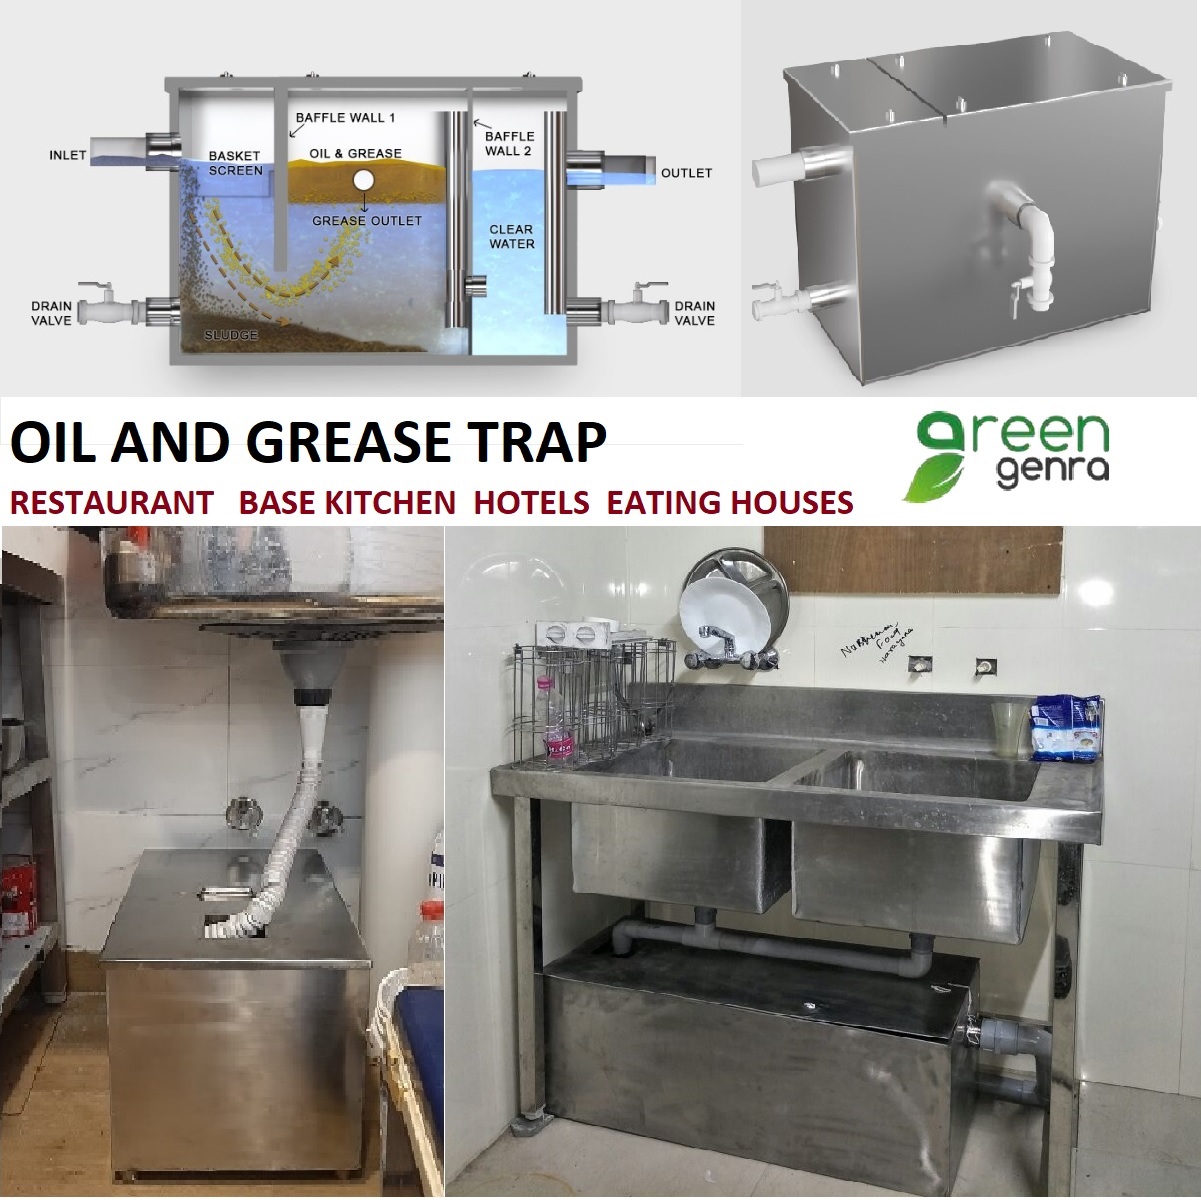
To prevent the issue of accumulate of FOG in your plumbing system you need to consider grease trap installation. Grease trap also called as grease separator or grease interceptor is a plumbing device that traps grease and solids from the waste water before they reach the sewage system.
The grease trap allows the water to flow while trapping fats, oil and grease in a separate chamber, keeping the drains clean while also avoiding costly plumbing repairs.
How to install grease trap in your facility?
Grease trap installation is not a difficult task if you have some basic plumbing skills and tools. However it is imperative to take the help of professional service provider to do the job for you. They can also help you with obtaining required permits and approvals from local authorities.
Here is a step-wise guide to install the grease separator in your kitchen-
- Choose the right grease trap: The first step is to choose the right grease trap. A professional service provider can help you make an informed choice based on the size of your sink and the amount of grease the facility is likely to produce.
- Choose the right location: Next step is to choose the right location. The most convenient place to install a grease trap is under the kitchen sink. One can also consider installing it outside the facility. However keeping it under the kitchen sink is the best bet. Indoor grease traps are typically smaller and are installed under the sink while the outdoor traps are larger and are installed underground.
- Gather the required tools: It is important to gather required tools that include pipe wrenches, PVC pipes and fittings, measuring tape, marker, Teflon tape and grease trap unit to ensure effective installation.
- Prepare the installation area: Next step is to prepare the installation area. If the grease interceptor is to be installed indoors, clear the area under the sink and for outdoor dig an appropriate sized hole to accommodate the trap. Make sure the area is leveled to avoid improper damage.
- Connect inlet and outlet pipes: Inlet and outlet pipes are to be measured and cut to fit the fixtures to grease trap. Make sure all the pieces fit tightly.
- Install the grease trap: Place the grease trap in the prepared location and ensure it is stable and in level. Attach the inlet pipe from kitchen fixtures to the inlet of the grease trap and outlet pipe to the sewer system.
- Check for leaks: After all connection is done, run the water through the system for leaks and test the system by running greasy water through the trap. Check the water flow and ensure the FOG is being correctly trapped.
It is recommended to hire a professional plumber or service provider for the installation as incorrect installation can cause significant plumbing issues. This will ensure that the installation complies with the local codes and regulations that can significantly vary from one area to another.
FAQs
1. What is grease trap?
A grease trap of grease separator is a plumbing device that is designed thoughtfully to intercept and trap grease, oils and fats before they enter the sewer system.
2. What are benefits of grease separator?
Grease separator prevents clogs and backups in the plumbing systems by trapping fats, oils and grease from waste water.
3. Is the installation of grease trap easy?
The installation of grease interceptor can be complex and requires some plumbing knowledge or professional help.
Share with:
Latest News
Our Products
Our Clients


Latest News
Effluent Treatment Plant (ETP) from reliable ETP Plant Manufacturers play a key role in reducing industrial pollution by trea...
With the increasing levels of water contamination in Ghaziabad because of growing industries and a growing population, wastew...

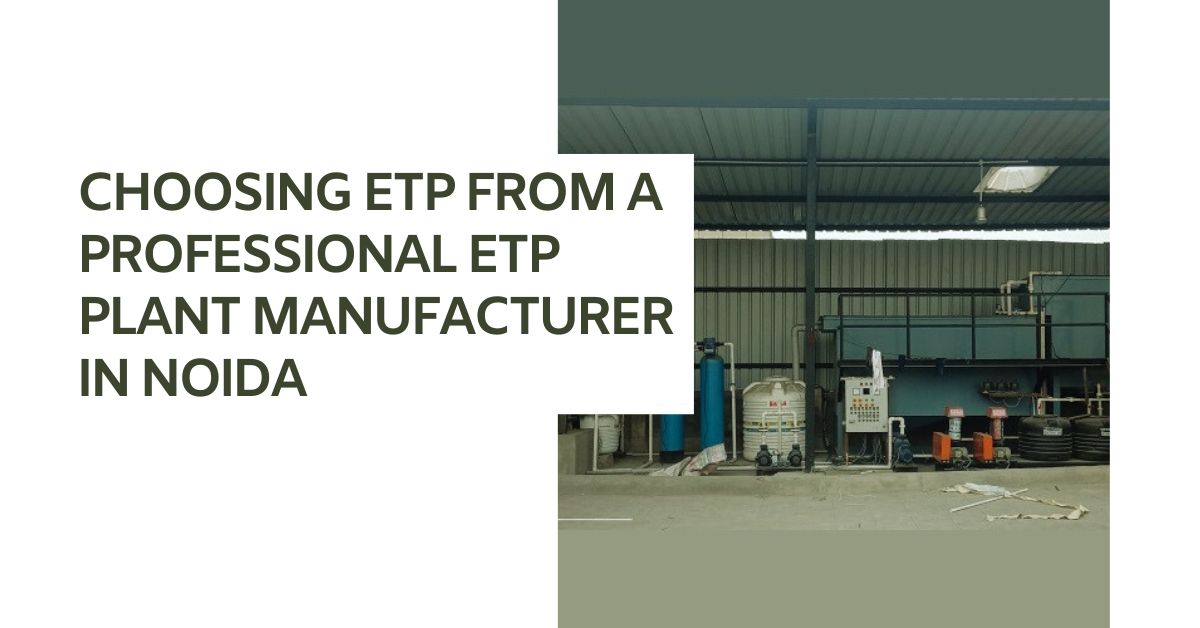
Green Genre is one of the best STP manufacturers in Noida that designs, produces and installs sewage treatment plants in vari...
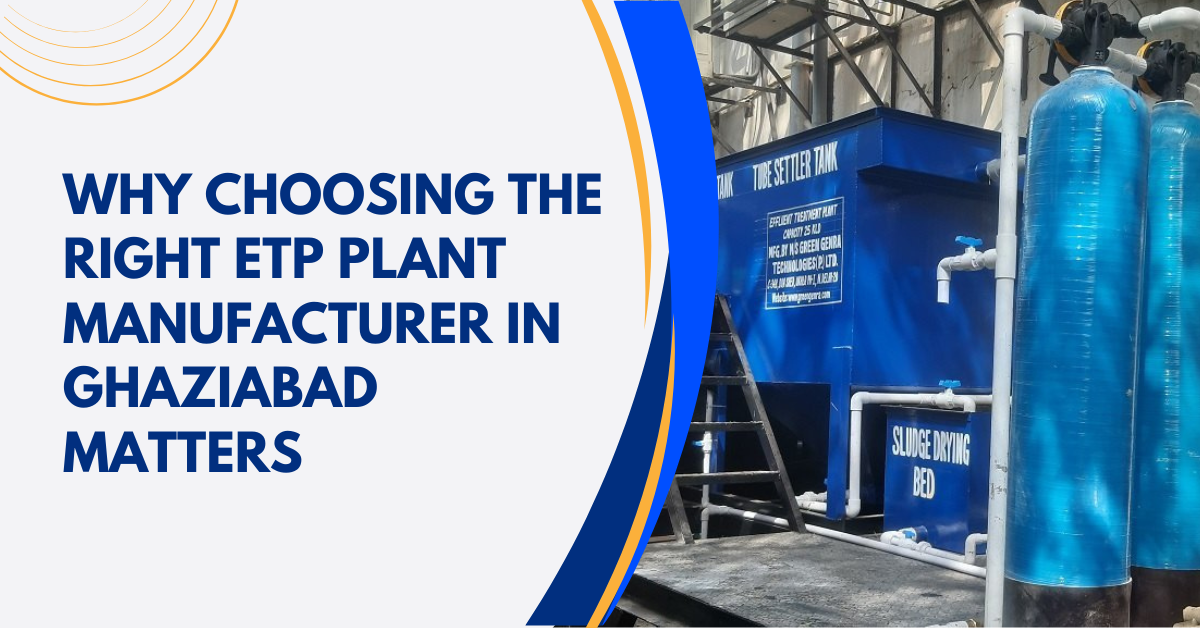
Effluent Treatment Plants or ETPs are important for industries in Ghaziabad to ensure environmental compliance ensuring effec...
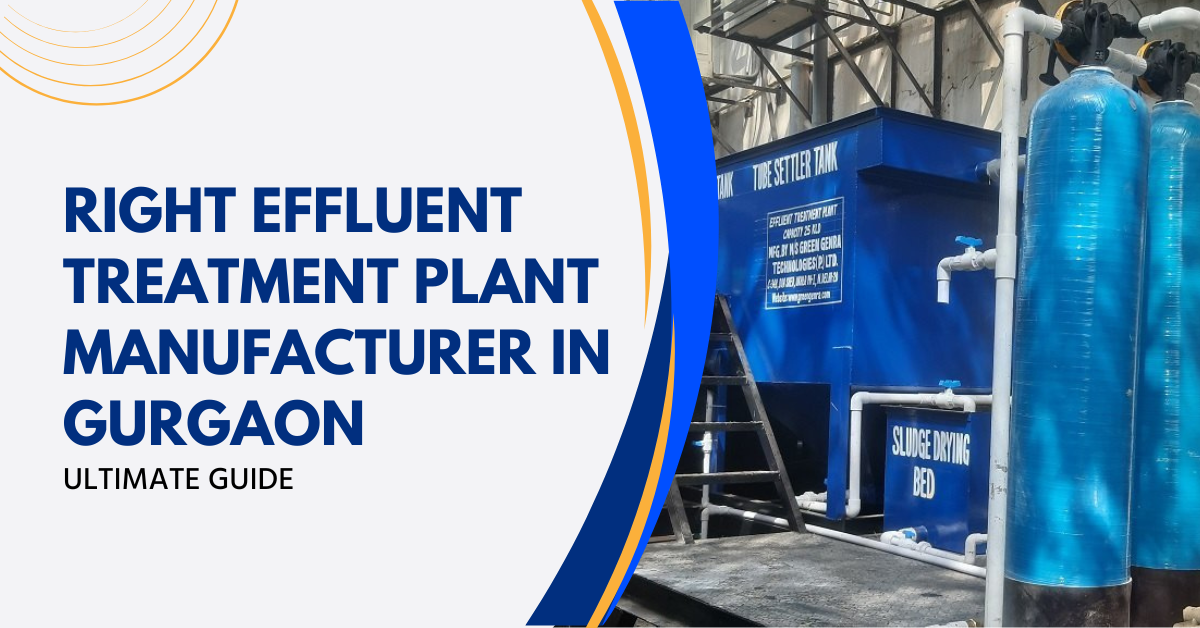
Selecting Right Effluent Treatment Plant (ETP) Manufacturer in Gurgaon: An Ultimate Guide 21-01-2025
An effluent Treatment Plant or ETP is a crucial investment for industries seeking to manage wastewater according to environm...
ETP or the Effluent Treatment Plant is designed to treat industrial wastewater by removing harmful chemicals, contaminants an...
Effluent Treatment Plant (ETP) from reliable ETP Plant Manufacturers play a key role in reducing industrial pollution by trea...
With the increasing levels of water contamination in Ghaziabad because of growing industries and a growing population, wastew...
Green Genre is one of the best STP manufacturers in Noida that designs, produces and installs sewage treatment plants in vari...
Effluent Treatment Plants or ETPs are important for industries in Ghaziabad to ensure environmental compliance ensuring effec...
Selecting Right Effluent Treatment Plant (ETP) Manufacturer in Gurgaon: An Ultimate Guide 21-01-2025
An effluent Treatment Plant or ETP is a crucial investment for industries seeking to manage wastewater according to environm...
ETP or the Effluent Treatment Plant is designed to treat industrial wastewater by removing harmful chemicals, contaminants an...
Upcoming Events

28Aug
Water Expo 2025 in New Delhi
Water Expo 2025 in New Delhi 28-30 August 2025 | Pragati Maidan, New Delhi India 20th Everything About Water Expo 2025 ...
28Aug
Water Expo 2025 in New Delhi
Water Expo 2025 in New Delhi 28-30 August 2025 | Pragati Maidan, New Delhi India 20th Everything About Water Expo 2025 ...
28Aug
Water Expo 2025 in New Delhi
Water Expo 2025 in New Delhi 28-30 August 2025 | Pragati Maidan, New Delhi India 20th Everything About Water Expo 2025 ...
28Aug
Water Expo 2025 in New Delhi
Water Expo 2025 in New Delhi 28-30 August 2025 | Pragati Maidan, New Delhi India 20th Everything About Water Expo 2025 ...